I can always spot a Schoology lover just by the way they pronounce it: “school! oh! gee!” I know I certainly have the same level of enthusiasm while sharing about Schoology!
Our building is embarking on year 3 (can’t believe it’s been that long already) of our 1:1 inititiative with Schoology integration, and to say we’ve learned a lot would be a gross understatement. Aside from the basics of managing a 1:1 environment, there’s been quite a few “Hacks” I’ve picked up along the way to help make Schoology work for everyone! Here’s a few of my favorites:
1. Build it in resources
I spent a few years building my content in the courses and then copying them over to all the others. This wasn’t always the smoothest option, as sometimes I was left with leftover responses from previous courses that I had to quickly clean out. Build it right in your resources, then import it to your courses from there
2. Get Course Profile pictures!
I teach 11 courses over the course of the year. Eleven. That’s a lot- and my students are enrolled into between 10-14 courses themselves, depending on specials. I can’t believe how many teachers still don’t put up profile pictures for their courses! As a teacher, I need all the help I can get finding my courses quickly, so having profile pictures that clearly indicate the courses and what day/period I see them makes all the difference to me!

3. Reordering Courses
With the new “Top 12” update, coourses are automatically sorted alphabetically showing the first 12 courses when clicking “courses,” which is helpful- except when you have more than 12 courses. I got many frantic emails from the Social Studies and Science teachers in my building when school started because they couldn’t find their courses on student computers! No fear, there is a way to sort all Schoology courses to change and reorder your “Top 12:”


I like to suggest to students that they order their courses in the order in which they see them during the day- first period listed first, and so on- also moving courses down when they only meet for a certain time of year. As a teacher of a one-semester course, I’ll often change or delete the profile picture once the course ends so as not to confuse myself or the kids!
4. Inline Pages
One way to change the look of your course page is to add content on a page and choose “display inline.” This provides a little extra visual support for students especially as the year goes on and the courses start to get full of content.


5. Adding Images to Folder Descriptions
The same technique can be used to make folders more visually appealing and eye catching to students! Elementary teachers and teachers of ELL students will find this extremely useful!


Do you have any other great Schoology hacks to make life easier? Share in the comments- I’m sure Part 2 is coming shortly!


")
 , I guess if I had to pick one word summarizing my year as an educator, it would have been Adventure. 2017 was a year of firsts for me- my first full year only teaching one prep, first time presenting at an EdTech conference, first time teaching in and supporting a 1:1 environment, first time reaching out to the greater educational community, first time helping to build and roll out a new online course for our students. I think “Adventure” is an appropriate way to describe the journey I’ve been on and the surprises and challenges that still manage to be present at every turn!


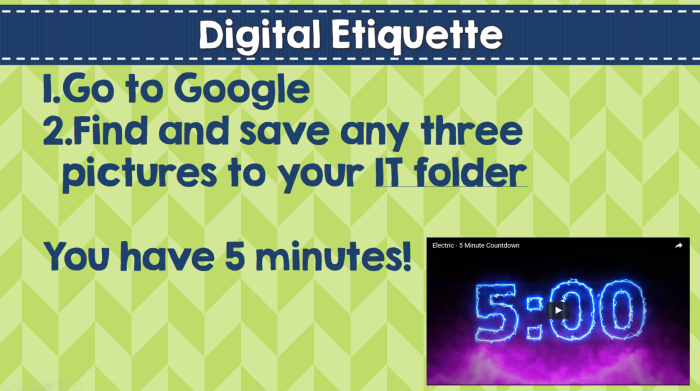
 hat I was sad about: the infinite cloner and the cute little timers and dice you could use on the screen. Having a large time the kids would see is an excellent little tool! But alas…